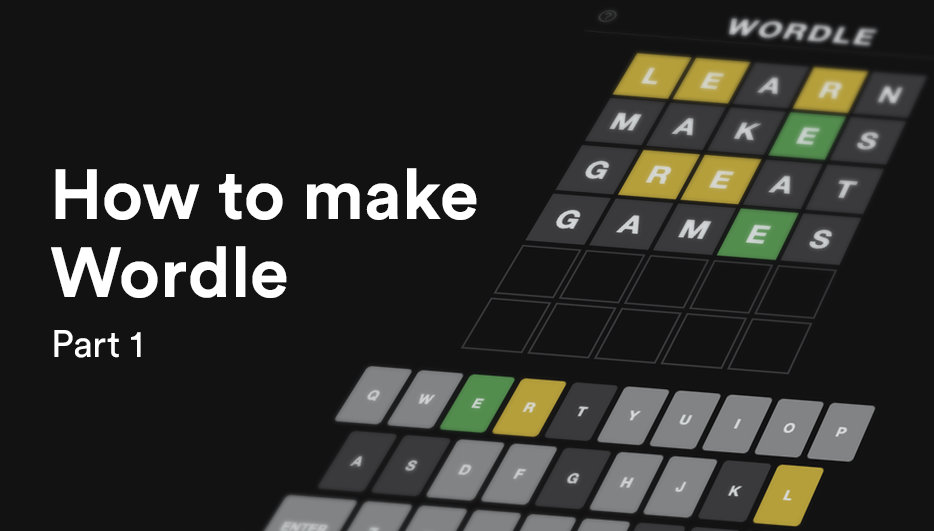
Build Your Own Wordle in Unity (How to Make Wordle Part 1)
- Intro
- Introduction: How Wordle works
- 1.1 Setting up the project and UI
- 1.2. Coding the keyboard
- 1.3. Creating the game mechanics
- 1.4. Creating Wordle’s iconic color code
- 1.5. Giving the player feedback
- 1.6. Juicing it up with little details
- Wiggling the wordboxes when the player enters an invalid word
- This is all good practice – but you want to be making your own games, right?
Table of Contents
- Introduction: How Wordle works
- 1.1 Setting up the project and UI
- 1.2 Coding the keyboard
- 1.3 Creating the game mechanics
- 1.4 Creating Wordle's iconic color code
- 1.5 Giving the player feedback
- 1.6 Juicing it up with little details
- Summary
Introduction: How Wordle works
As we write this guide, it’s early February 2022. And the word game Wordle is seriously viral.
It’s challenging and creative, but extremely simple. It’s easy to learn, but hard to master. And the colorful way it shows your results (without giving away answers) is endlessly shareable.
So that’s why it’s proving so popular. And that’s why we decided to write this guide to creating Wordle puzzles in Unity 2020.3.25f1. As well as showing you how to make the game in Part 1 of this guide, we’ll also cover implementation, feedback, and polish.
After that, in Part 2 we will demonstrate how to use LootLocker to improve the Wordle experience with a few features that the original game did not have including persistent player accounts, friend lists, and global leaderboards.
But first, how do you play Wordle?
The rules of Wordle
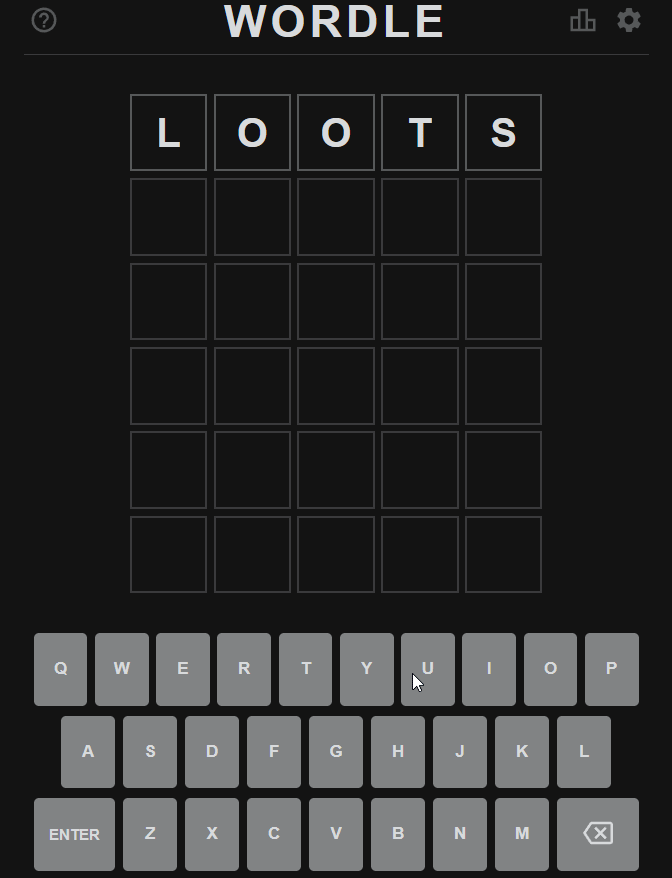
The challenge is to guess the mystery five-letter word in six tries.
Each guess must be a real word.
When you enter your guess, each letter is color coded:
- Correct letters in the right place go green
- Letters that exist elsewhere in the word go yellow
- Letters that don’t exist in the word go gray
So with each guess, you get a little closer. Get the word right within six guesses and you win.
It’s as simple as that.
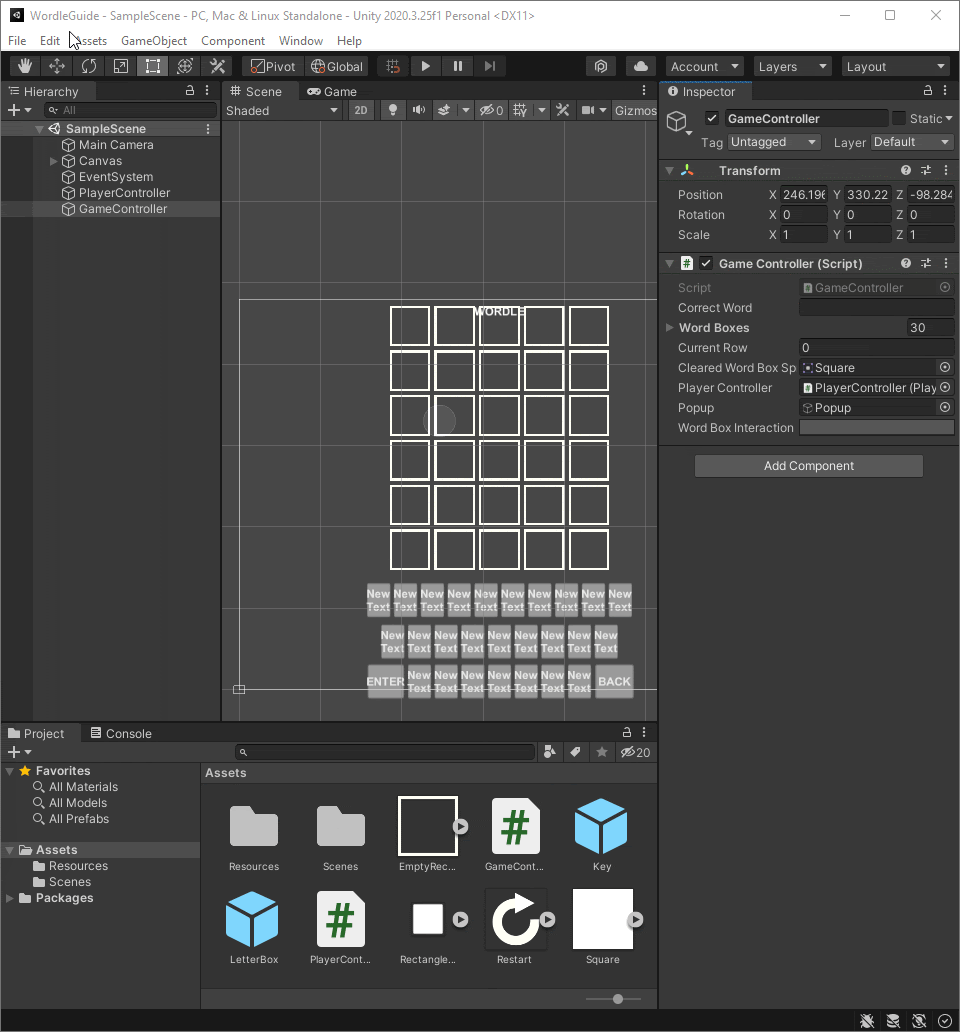
1.1 Setting up the project and UI
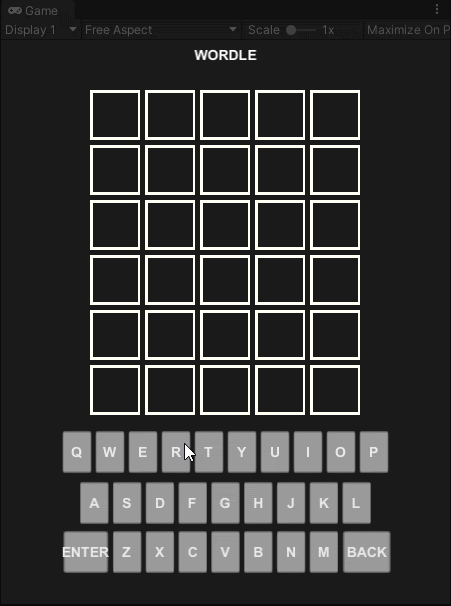
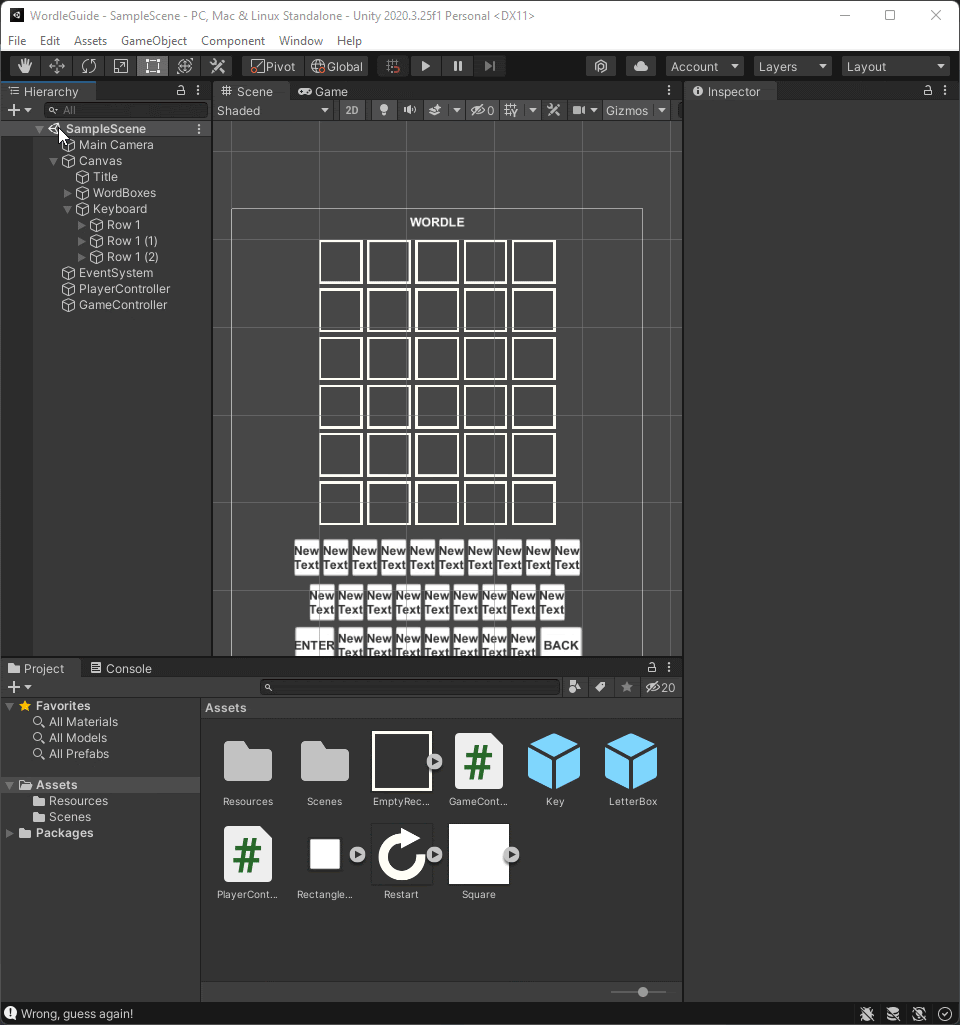
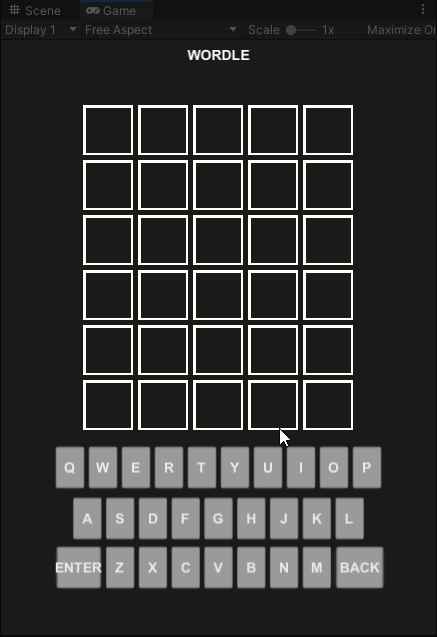
In this first part, we’ll cover setting up the UI we need for the game. We’ll also add some UI along the way. But to start, we’ll need the onscreen keyboard and boxes where the players’ guessed letters will appear.
Making a new Unity Project.
- Open Unity Hub
- Click “New Project”
- Choose 2D Core as your template
- Give your project a name.
Setting up the UI
We used these four images for the game. You can use these, or make your own.
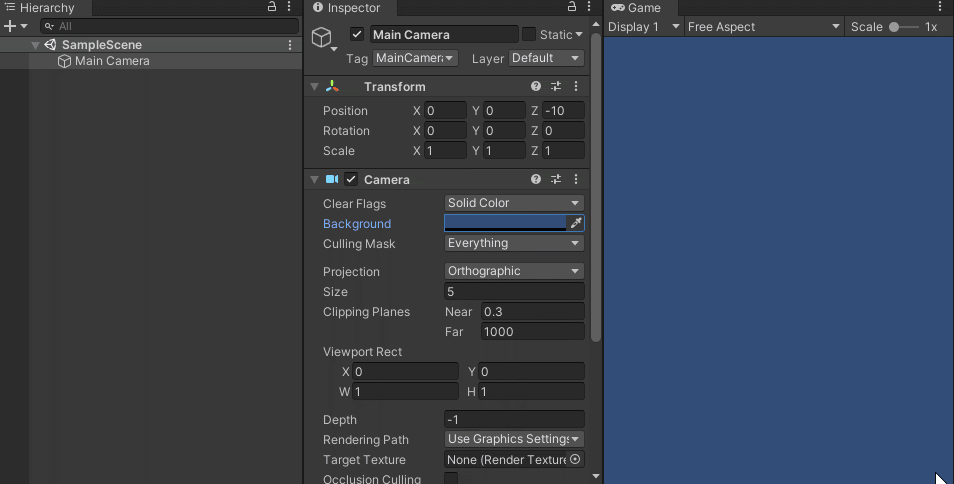
- To start off, let’s get a nicer camera background:
- Click the camera in the scene hierarchy.
- Click the color to get the color selection window. Choose your color (we used #19191A)
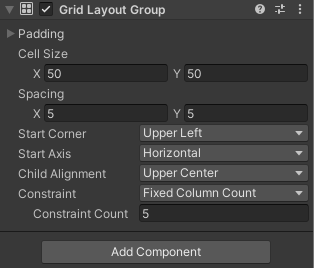
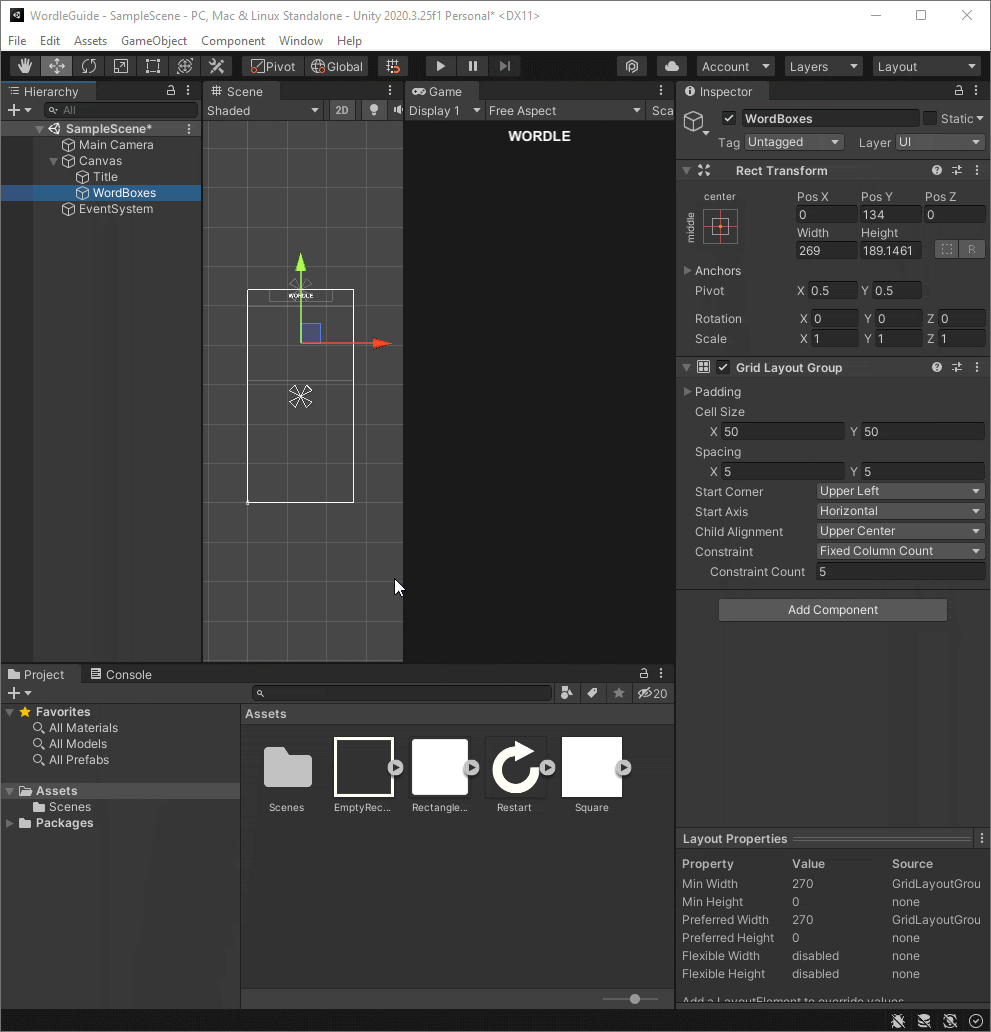
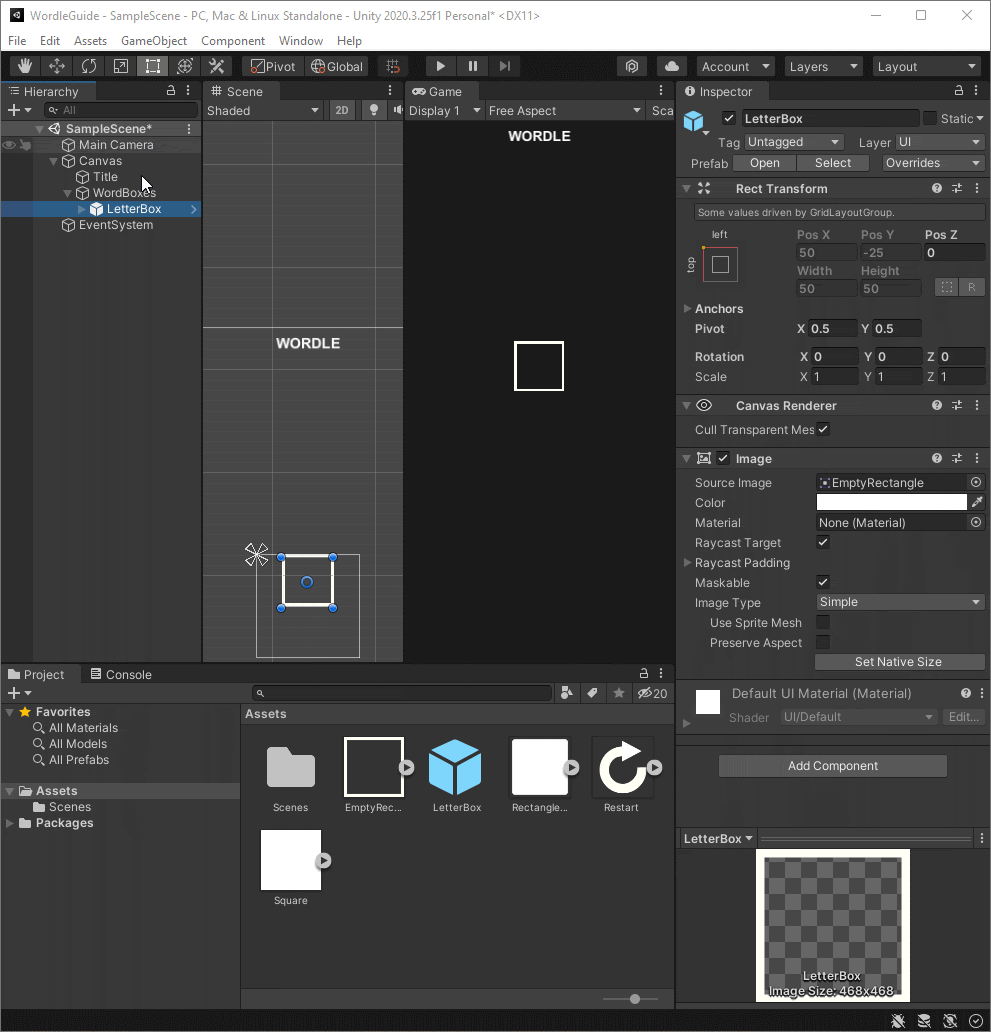
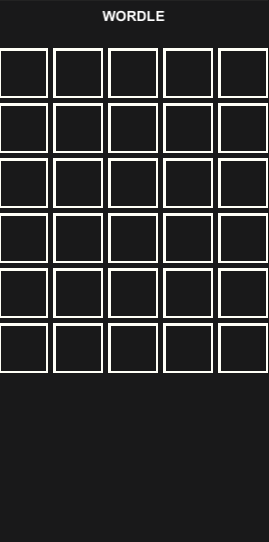
Adding the word boxes
This is where the players’ guessed letters will appear.
- Create a new Empty GameObject and name it WordBoxes.
- Add a Grid Layout Group Component to it and select these settings:
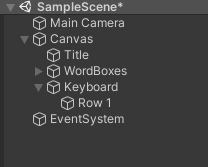
Making a keyboard
This process is similar to what we did with the word-boxes. But we’ll have three rows, and those rows will have different numbers of buttons.
The easiest way to set this up is to create three separate horizontal layout groups. (Instead of one Grid Layout group.)
-
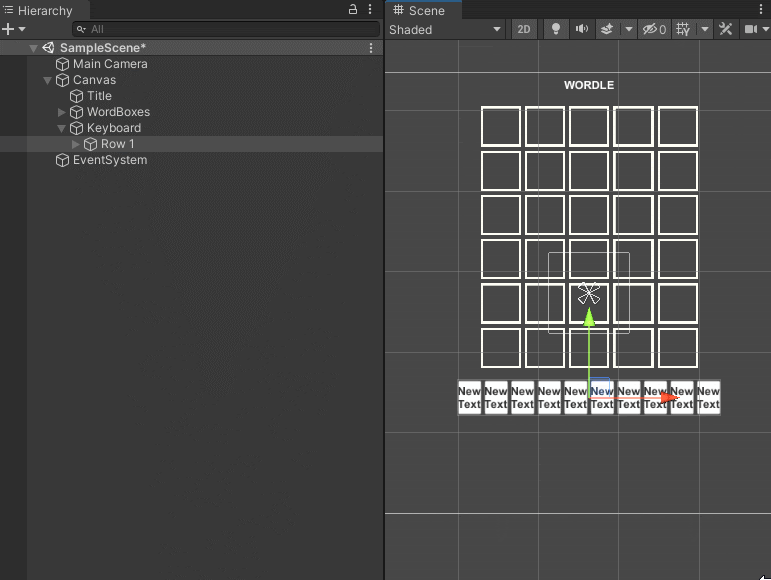
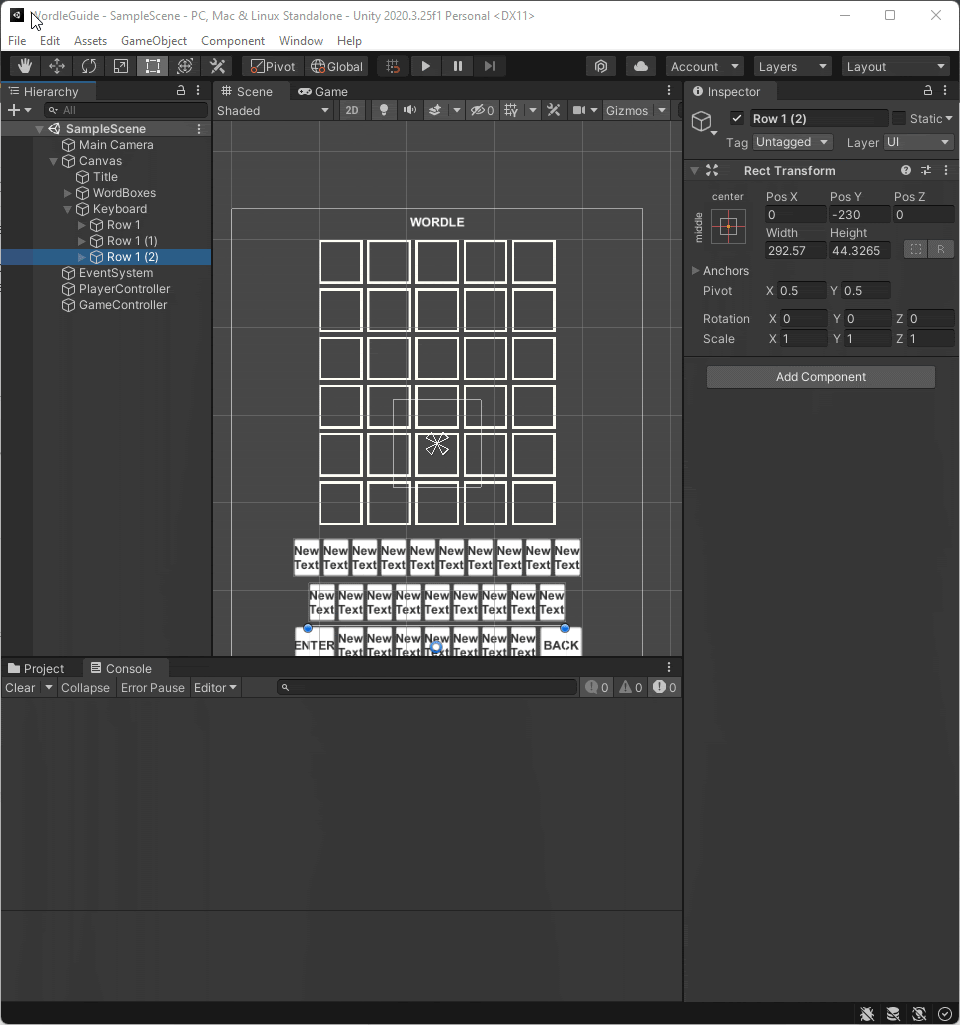
Add a new GameObject and name it ‘Keyboard’. Under it, create a new game object and name it ‘Row 1’.
Add a new object with a button to Row 1. To do this, right click on it and select UI -> Button.
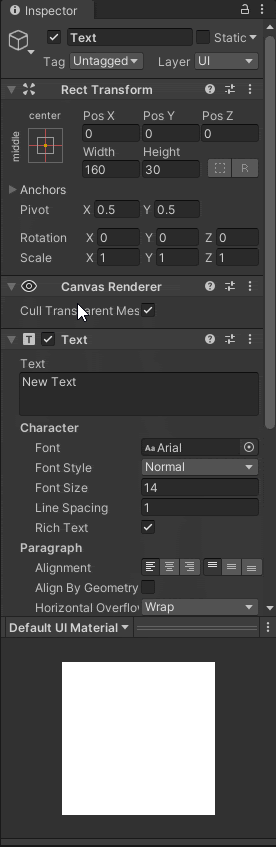
Set the sprite RectangleRounded.png as the sprite. Name the newly created Image object “Key”. Add a text object into it by right clicking on it and selecting UI -> Text.
Set the anchor scaling of the text to be stretched to fit. Drag this into the project window to make it a prefab.
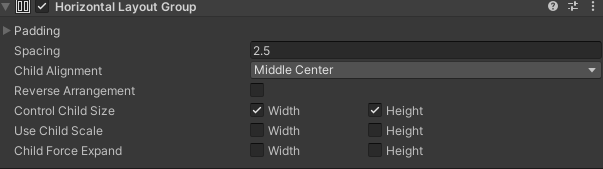
Add a Horizontal layout group component to the Row 1 game object. Do this by clicking Add Component in the Inspector, with Row 1 selected, and typing Horizontal layout group.
Select these settings for the horizontal layout group:
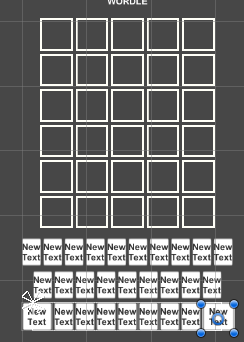
Duplicate the Key game object in the hierarchy window (Ctrl+D/Command+D) until you have ten of them. This is the first row of your keyboard.
Press ‘T‘ with Row 1 selected and scale it until it’s roughly to the same size as here:
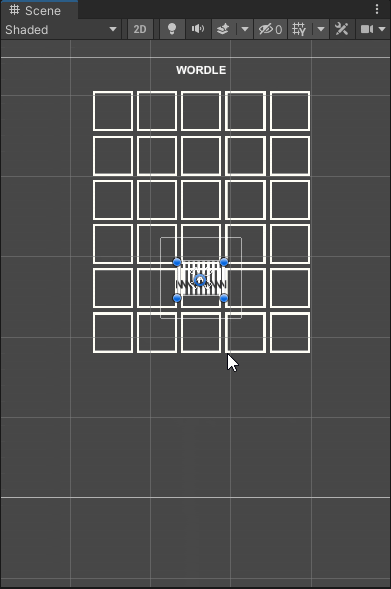
(To scale the object from the center, hold alt after you’ve pressed. You can also move it by pressing ‘W’, and then using the arrows on screen.)
Now we need to do the same for the next 2 rows.
Rows two and three will just have nine letters each.
Duplicate (Ctrl+D/Command+D) the first row, and remove one letter prefab from that row. Move and scale it until you have something similar to this:
Now we’ll remove the horizontal layout group from the bottom object. This is because we’ll want the enter button and backspace button to be a bit bigger. And we can’t do that now because the horizontal layout group is stopping us.
Select the last Row game object and right click on the horizontal layout group in the inspector. Select “Remove Component”.
Now select the first and last objects in the list. Scale them so they’re aligned with the top row.
We’ll add more UI as we go. But we’ve already got all the UI we need to get coding.
1.2. Coding the keyboard
In this part we’ll get the keyboard working – so that pressing a button makes the correct letter appear in the console.
Automatically assigning functions
It would take a long time to manually write in all the letters and assign the functions. So instead we’ll do it automatically. (Well, it might not actually be any faster, but automating is definitely more fun.)
-
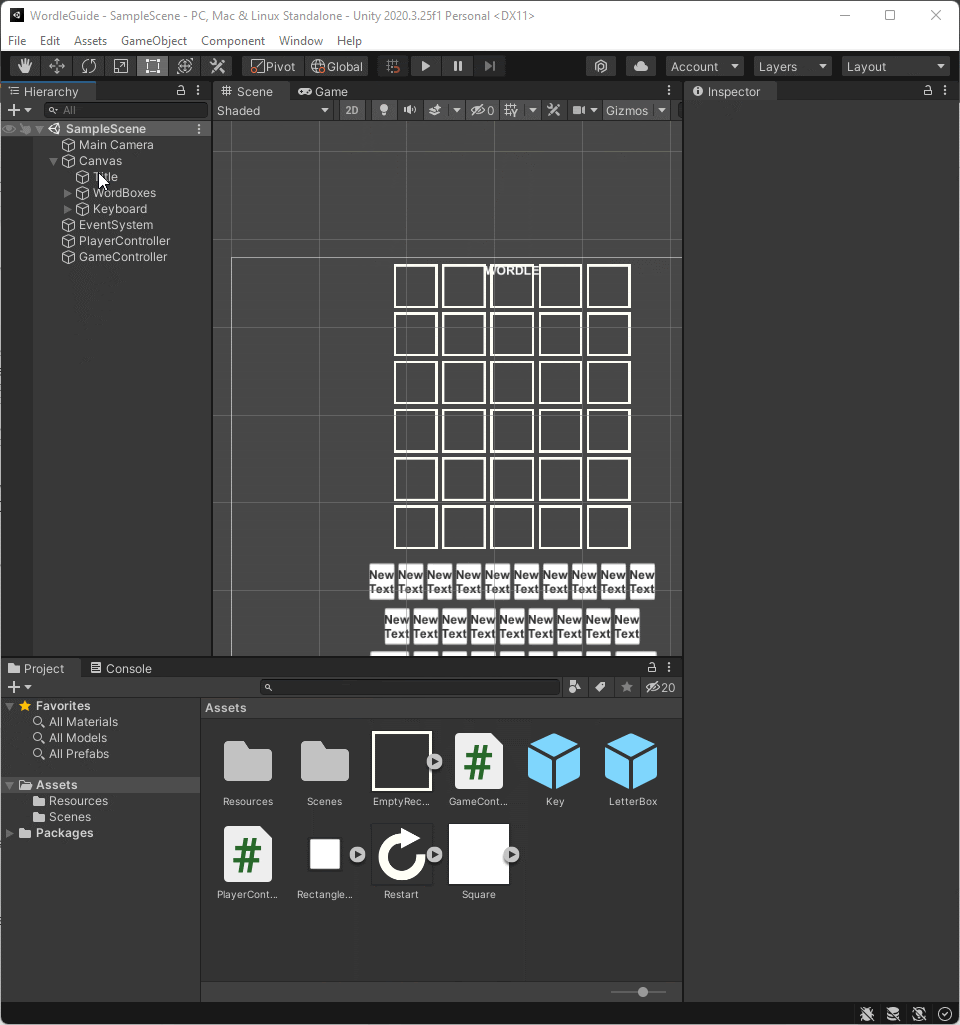
Create a new folder called ‘scripts’ and a new C# Script called PlayerController.
-
Enter this code:
Now, we’re taking all the buttons and adding letters to each of them from a list of characters.
We then assign a function to the Button Components OnClick field. With this function, whenever we click the function, ClickCharacter() will be called with a reference to that button's letter. This then outputs it to the console.
In unity, create a new Game Object in the scene. Name it PlayerController and assign our newly created script to it.
We’ll add all characters to the list we just created so we don’t need to do it manually.
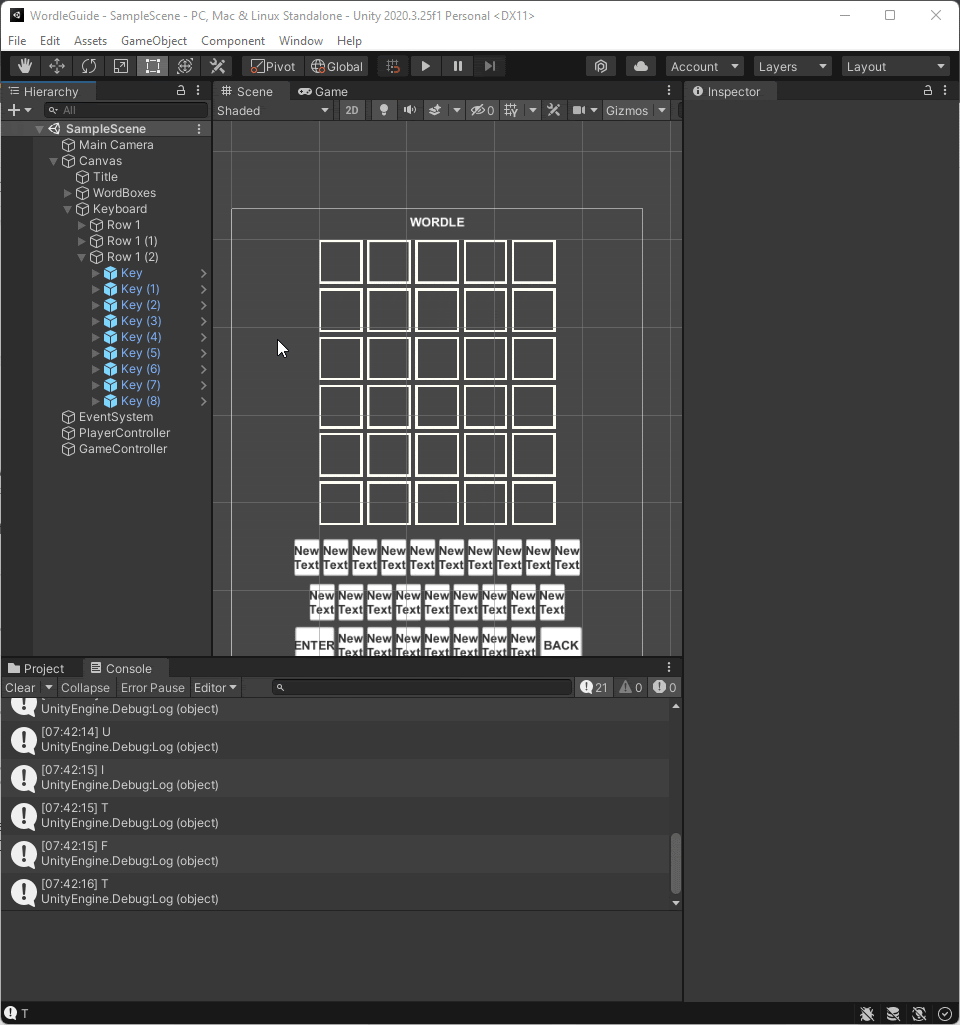
Start by expanding all the keyboard rows in the project hierarchy. After that, lock the inspector with the PlayerController object selected.
Drag all Key objects, except for the first and last one in the last row – 'return’ and ‘backspace’. (It’s easier to do these manually.)

Manually naming ‘backspace’ and ‘enter’
- Unlock the inspector.
- Select the first and last Key objects of the last row.
- Type in the text “ENTER” on the top one, and “BACK” for the last one.
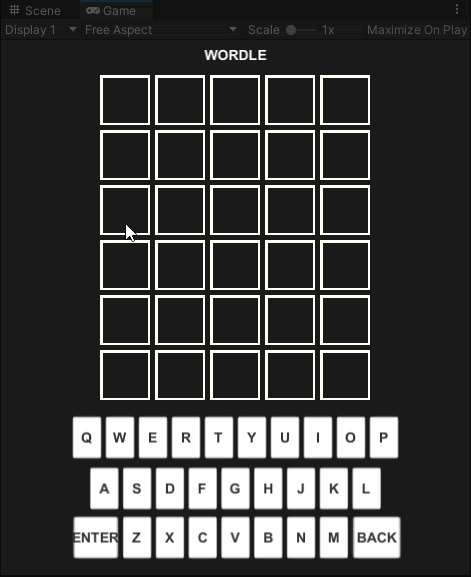
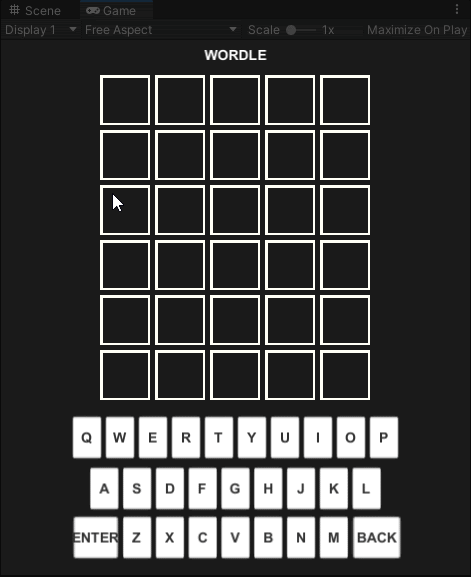
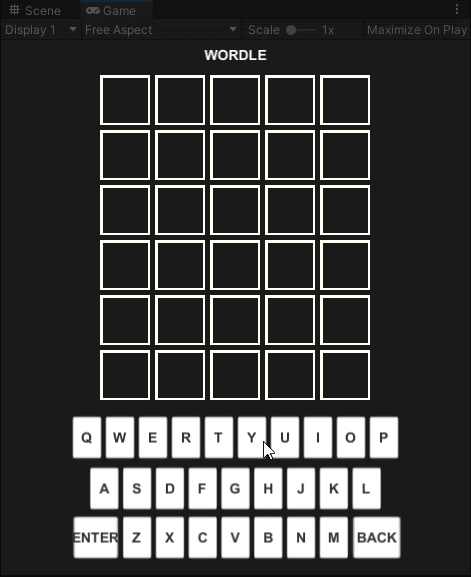
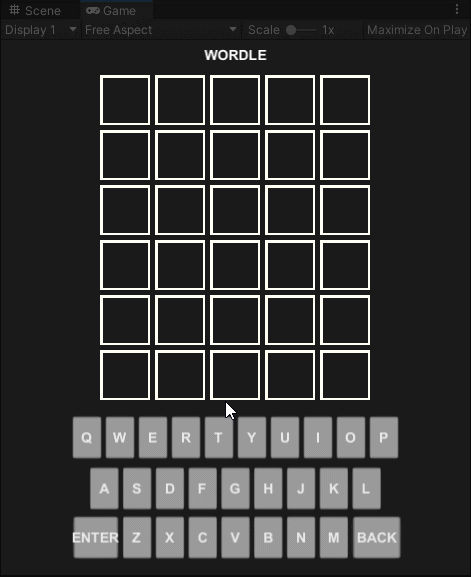
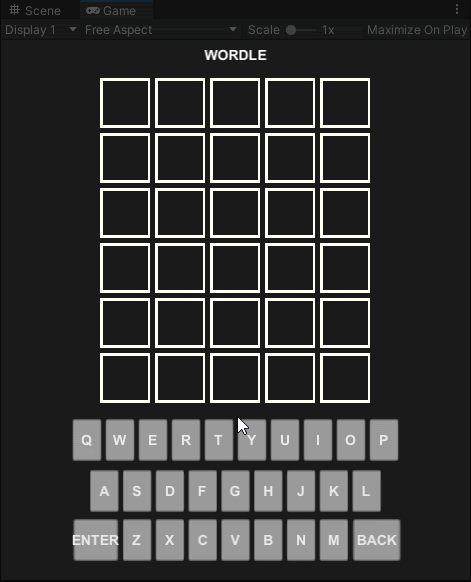
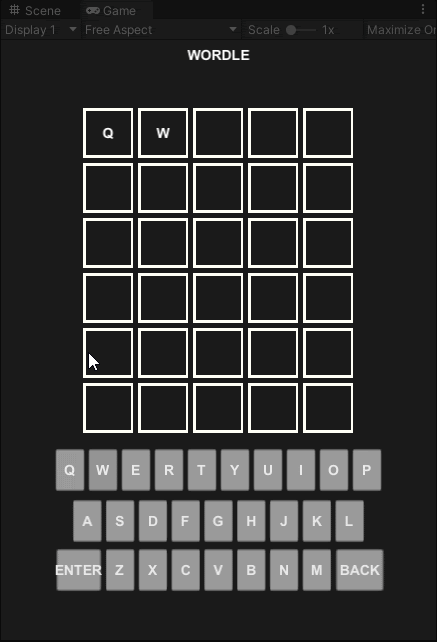
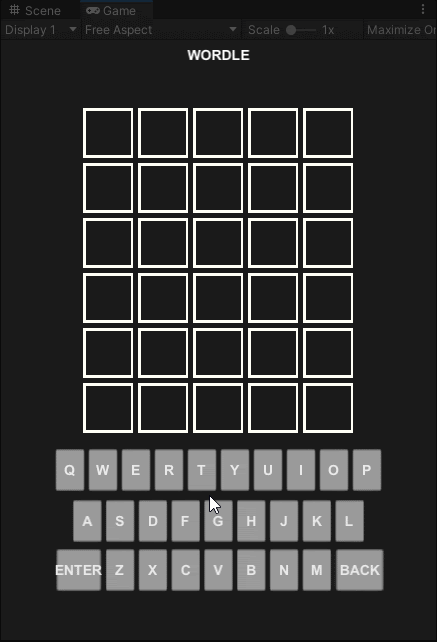
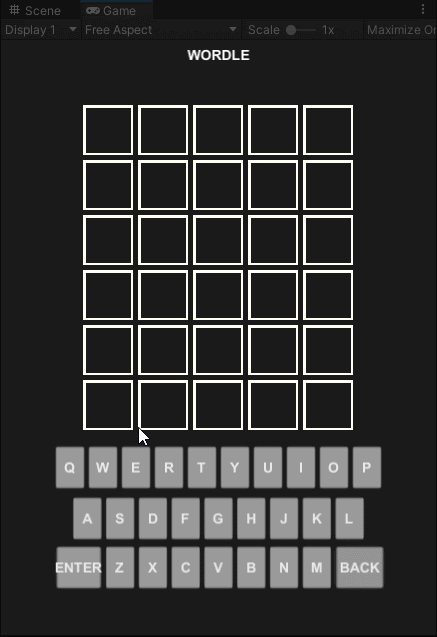
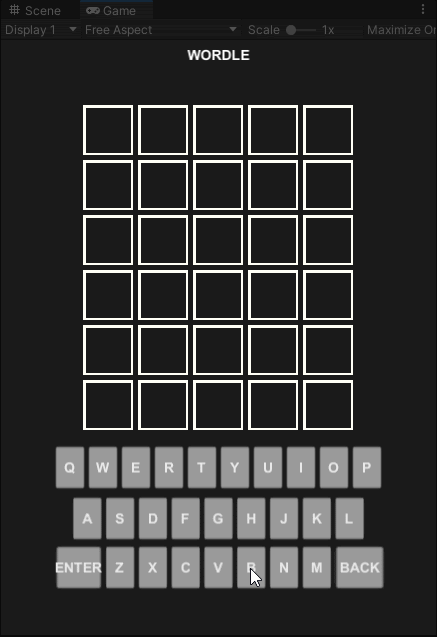
Quick test: Press Play and you should have something similar to this:
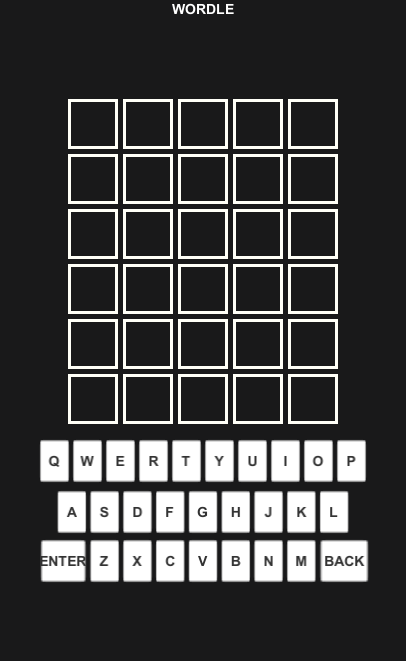
Press the keyboard buttons and you should see the characters appear in the Console.
1.3. Creating the game mechanics
This is where we start making the actual game. Wordle has very simple rules, based around two lists of words.
So let’s focus first on getting the keyboard inputs to function properly as word guesses.
Creating the word lists
Wordle uses 2 different lists of words:
- Words the player can use as guesses: dictionary.js (link to file)
- Words that can count as correct guesses: wordlist.js (link to file)
-
Create a new folder in the assets folder in Unity called Resources. Put these two files there.
Now we’ll read these files and put all of them in two different lists.
-
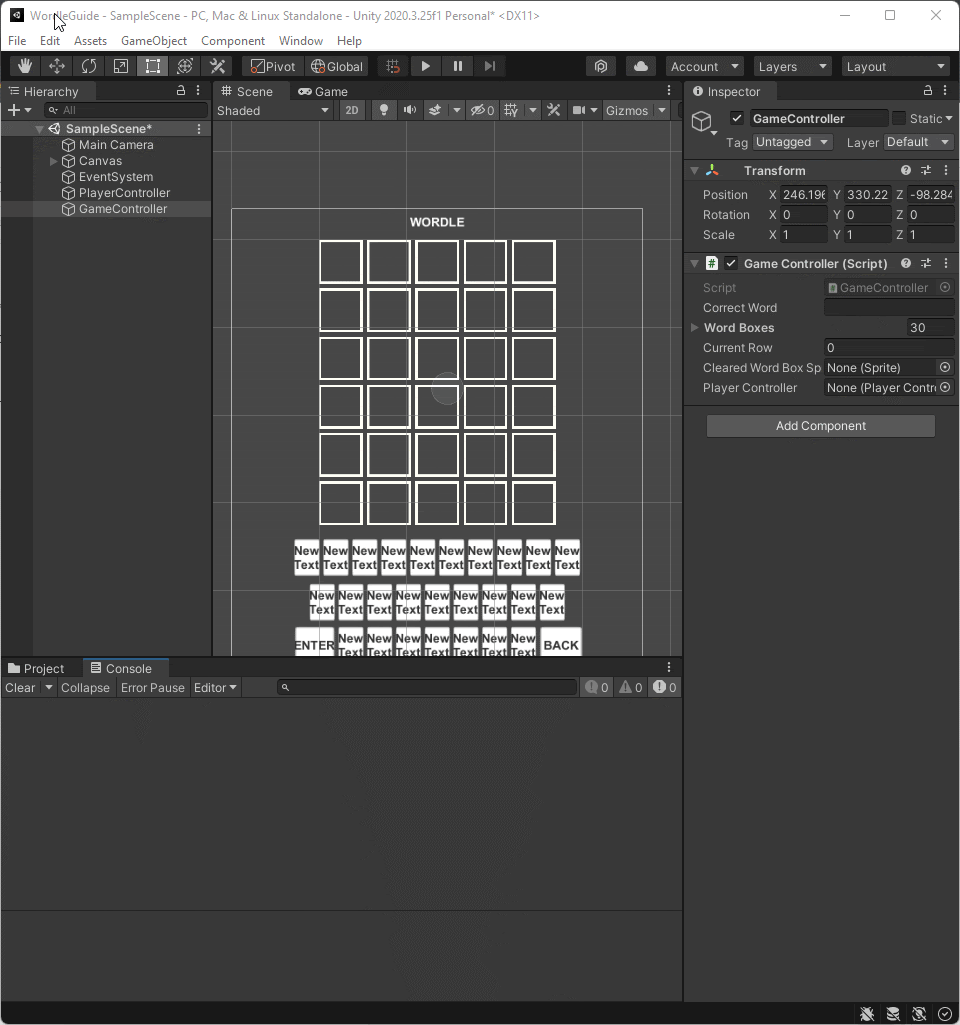
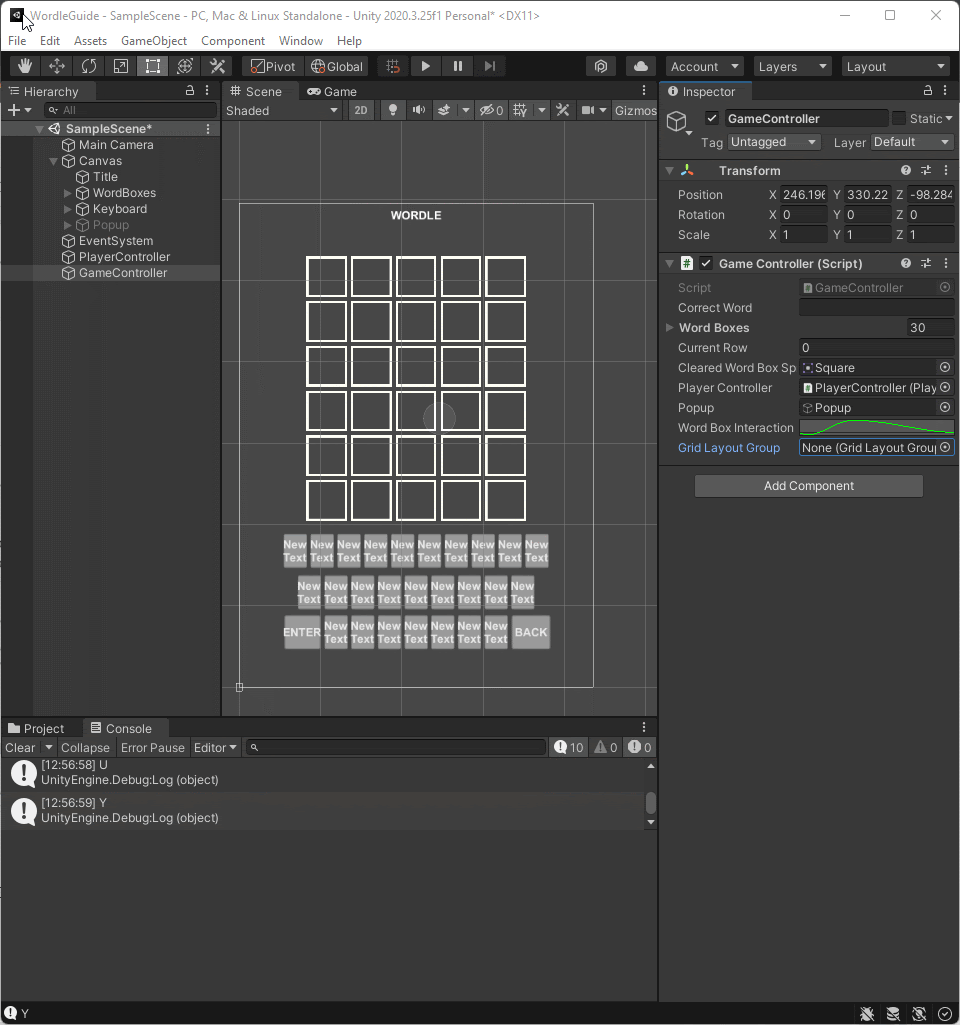
Create a new GameObject in the scene. Attach a new C# script called GameController.
-
Insert this script:
Quick test: Now press play. If the console outputs two big lists of words, that means everything’s working.
Setting the correct answer to the puzzle
This is where we choose a random word for the player to guess.
- In GameController.cs, add this variable to the top of the script:
This variable will store the correct word the player has to guess.
Quick test: Take a second to go back to Unity and press play. You should get a message in the console with a random word. This will be our correct answer.
Laying the groundwork for the color code system
We’ll let the player input five characters into the top row and press enter. Then for every letter the player’s entered, we’ll check two things:
- Does the letter appear in the correct answer?
- If so, is it in the right place?
-
In GameController.cs, add a reference to the list of wordboxes and an integer with the current wordbox:
Add a using statement (for the text components) in the top of the script for UnityEngine.UI:
Then add a public function to input a character into the current wordbox:
Now go back and call this function on the GameController.
In the top of PlayerController.cs, add this reference to GameController:
And in the function ClickCharacter, run the newly created function AddLetterToWordBox() and send the character to the GameController:
Now let’s go back to Unity and set up some references.
First, drag the GameController to the variable GameController in PlayerController:
Then we set up the references to the wordboxes in the GameController. Do this by locking the inspector window and dragging them into the list of WordBoxes:

Quick test: Now, when we press play, we should be able to insert characters into the wordboxes.
But at the moment, we can enter as many characters as we want, until we’ve filled out all six lines. At that point, we’ll get an error message.
So let’s fix that next.
Limiting the character inputs to five at a time
- To do this, we need two variables: currentRow and charactersPerRow:
Quick test: You should now be able to input only five characters into the first row. Once that row’s full, only the Backspace and Enter keys will work.
Giving players the option to remove characters
We’ll check if the current wordbox is empty. If it is, we’ll remove the character before that. If the current wordbox isn’t empty, we’ll remove the one we’re on.
-
In GameController.cs, add this function at the bottom of the script:
In Unity, click the button that’ll function as the Backspace (the last button of the last row). Call this function on the GameController by adding it to the OnClick() list on the button component:
Quick test: Press play and you should be able to input characters and remove them too.
Making the ‘Enter’ button work
To do this, we need to check the player’s guess against the correct word, and go straight to the next row.
We’ll add a function in GameController.cs that’ll convert the letters in the current row into a new string.
We’ll then check this string against the correctWord string. If it matches, we’ll make the console output the good news that the player’s guess is correct. (This would be incredibly unlikely with their first guess, but we'll get to that soon.)
- Add this function to the bottom of GameController.cs:
Quick test: If everything’s working, you should be able to get to the next row by pressing the Enter button. And the console should tell you if your guess was correct or not.
Adding a few error-preventing checks
Players do odd things sometimes. They might, for example, try to submit a word that has fewer than five characters. So let’s put a few guardrails in to stop the player doing unexpected things.
-
In the function SubmitWord(), we can stop the player submitting any word with fewer than five letters:
We’ll also need to stop the player entering more characters than there are word boxes.
In the function AddLetterToWordBox, we need to check if the currentWordBox is the last one. If so, we’ll stop any more characters going in.
Add this variable to the top of the script in GameController.cs:
Next, add this to the start of the function AddLetterToWordBox()
So the function AddLetterToWordBox should now look like this:
We also need to add this to the SubmitWord() function:
And to the remove letter function as well:
Quick test: When you press play, you should now be unable to input any characters once you’ve filled out the last row.
You should also be unable to submit a word until all the word boxes on the current row are full.
Now we have a functioning game.
It’s an extremely hard game at the moment, because we don’t get any feedback on our guesses. But it’s a functioning game nonetheless.
1.4. Creating Wordle’s iconic color code
Our game wouldn’t be much fun to play at the moment. When a player enters a word, all they get back is ‘right or wrong’ feedback.
What makes Wordle so tantalizingly addictive is the color code that tells players how close they are to the correct answer.
So here’s what we need to do:
Color the background of the wordbox (and on the keyboard) to:
- green if the character is in the correct place
- yellow if the character exists elsewhere in the word
- gray if the character doesn’t exist in the word
We also need to stop the player entering nonsense words – use the dictionary list to check if the word exists or not.
Checking if a letter is in the correct place
We’ll start by adding a function to get the image of a specific letter in PlayerController.cs.
- Add this to the bottom of PlayerController.cs:
(You can use different colors if you want to, of course.)
Next, we need to check every character of the player's guess. If it’s correct, we’ll change the sprite of the box and keyboard image to the corresponding color.
Quick test: The correct characters should now turn green on both the wordboxes and the keyboard.
Checking if the letter exists elsewhere in the word
This is a bit trickier than just checking if the correct word contains a certain character. If we do that for every character, we could give the player some misleading information.
Here’s a quick example:
Let’s say the correct word is STOPS, and the player guesses LOOPS. If we check every single character and mark them yellow, one letter ‘O’ will be yellow and the other one will be green, which could make the player think there’s more than one ‘O’ in the answer.
Here’s another quick example:
The answer is ARTSY and the player guesses SALAD. If we simply check if the character exists in the word, both A’s in SALAD will be yellow.
So to fix this issue, we need to create some checks and temporary values. These will update the information for every character.
This will be a lot to code in one block, but bear with us. We’ll go step by step and explain what’s happening.
Insert this code into the function CheckWord() that we just created:
In broad terms, we’re replacing correct letters with ‘0’ – and replacing letters that exist elsewhere in the word with ‘1’. When we get the same character a second time, we’ll replace that character with a ‘.’ (dot) to make sure we don’t find it more times than it exists in the answer.
Here is a walkthrough of what happens:
- Set up the needed variables
To finish this bit, let’s just summarize an example of the journey a player’s guess will take:
- Let’s say the correct word is TOAST and player guesses STOPS
- Swap correct characters with 0
- No characters in the correct place, they stay as they are
- Correct word is TOAST
- Player guess is STOPS
- No characters in the correct place, they stay as they are
- If a character in the player’s guess exists within the word, swap that character to a 1. And update the character in the temporary correct word with a ‘.’ (dot).
- S - S can be found in the temporary correct word (TOAST)
- Player guess becomes 1TOPS
- Temporary correct word becomes TOA**.**T
- T - T can be found in the temporary correct word (TOA**.**T)
- Player guess becomes 11OPS
- Temporary correct word becomes **.OA.**T
- O - O can be found in the temporary correct word (**.OA.**T)
- Player guess becomes 111PS
- Temporary correct word becomes **..A.**T
- P - P can NOT be found in the temporary correct word (**..A.**T)
- Player guess stays as 111PS
- Temporary correct word stays as **..A.**T
- S - P can NOT be found in the temporary correct word (**..A.**T)
- Player guess stays as 111PS
- Temporary correct word stays as **..A.**T
- S - S can be found in the temporary correct word (TOAST)
Without this system, there are quite a few places here where we could’ve given the player misleading information. For example, in 3e, the character would’ve become a 1, which would leave the player thinking there are two S’s in the correct word.
The game would still work without these checks, of course. In fact, you could even run it as a ‘hard mode’, because the player has less feedback to work with.
Getting everything the right color
Now it’s time to rewrite some of the CheckWord() function, so it’ll check against these temporary variables and assign it a color:
- Green for a 0
- Yellow for a 1
- Gray for anything else
We also need to make sure we don’t override any colors on the keyboard that we don’t want to. So the updated version of the CheckWord() function needs to look like this:
Quick test: Press play and have a go. If everything’s gone to plan, it should look like this:
The gray color doesn’t look great on the black background though, does it? Let’s change that next.
Changing the color of the keyboard
Let's change the keyboard to a light gray with white characters. This will make the letters on the keyboard more visible when they change to a darker color.
Go to any of the Key prefabs and change the color to a light gray, and the text color to white. Then apply the changes:
Quick tip: When you’re using colors like white or black, try to not go with full white or full black. Making white slightly darker and black slightly lighter can make a huge difference.

It’s all personal preference, but we think the bottom colors are a lot more pleasing to the eye than the top ones.
Ignoring words that aren’t in the dictionary
Now our game’s almost fully functional. But there’s one dead simple thing left to do:
We need to make sure the player’s guesses are valid words from the dictionary.
To do this, we simply iterate through all of the words in the dictionaryList. If nothing matches, we don’t continue.
Add this to the SubmitWord() function, after we’ve converted the player’s guess to lowercase characters:
We now have pretty much all the features Wordle has. But we’re still missing an important part of the game: feedback!
1.5. Giving the player feedback
For a player to understand your game, you need to give them the right feedback. We already have some of the feedback in place – like the keyboard and word boxes switching colors. But we still need some more.
So for this part, we’ll add this feedback into the game:
- Winning the game (guessing the correct word)
- Losing the game (running out of guesses without getting the correct answer)
- Entering a word that doesn’t exist in the dictionary
- Entering too few characters
For the types of feedback that we’re adding here, we’ll use the same popup.
Creating popup messages
-
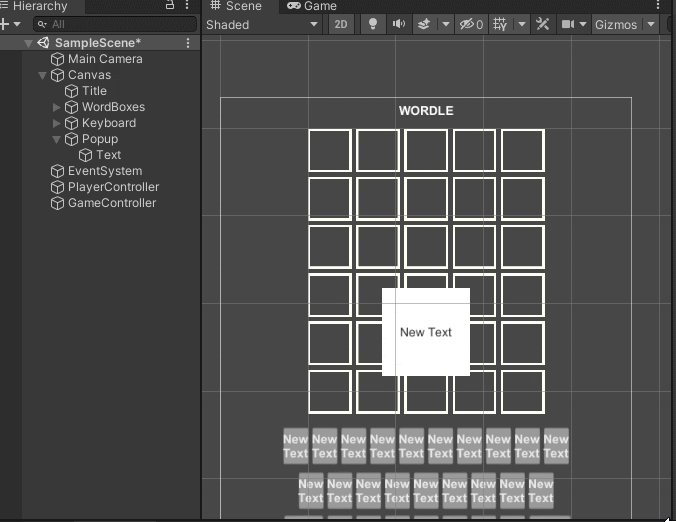
In Unity, create a new Image inside the Canvas. Name it Popup and add a Text component to it.
On the Text component, hold down Alt and change the anchoring type to stretch the width and the height:
Let’s also change the text to center in the middle of the box as well:
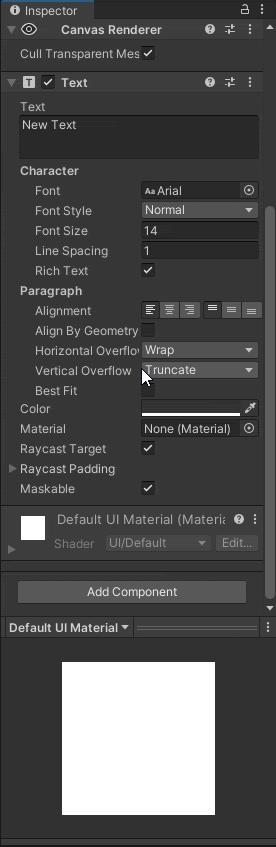
While we’re here, we should give it a more pleasing shape too.
Now we jump back into GameController.cs.
Add a function called ShowPopup(). This will show the popup for two seconds, and then disappear or stay depending on the type of message.
At the top of GameController.cs, add a reference to the popup – and a variable for the coroutine we’ll be using for the popup.
In the bottom of GameController.cs, we need to add two things:
- a function we’ll re-use for the different types of messages
- a coroutine to show and hide the popup
Next, we add this function call to the places where we need to give the player feedback. These places all exist in the SubmitWord() function.
Let’s go back to Unity and set up the reference to the popup. We’ll also turn the popup GameObject off. This way, the game won’t start with the popup open.
Quick test: Press play and make sure your feedback messages are popping up in the right places at the right times.
We now have a fully complete game of Wordle, with all the feedback and features we need.
But it still lacks a bit of polish – or as we’d call it: ‘juice’.
So in part six, we’ll focus on the little details that make the game look and feel more pleasing.
1.6. Juicing it up with little details
Juice, polish, game feel – these all mean basically the same thing. After you have all your features and mechanics in place, you polish it and ‘juice it up’ to make it feel as good as possible. This is where the game stops feeling like a prototype, and starts feeling like a fully finished product.
There are lots of videos on the topic of ‘juicing’. Here’s are some we’d recommend:
- Game Feel: Why Your Death Animation Sucks
- Juice it or lose it - a talk by Martin Jonasson & Petri Purho
- Secrets of Game Feel and Juice.
Different types of juice work for different types of games.
For a casual puzzle game like Wordle, you don’t need anything spectacular. Things like screen-shake or explosions would feel very out of place.
For our Wordle game, we’ll focus on quick and snappy animations, like these:
- Scaling wordboxes when the player adds or removes a letter
- Creating the ‘flip’ animations for revealing the character colors
- Wiggling the wordboxes when the player enters an invalid word
- Animating the appearance and disappearance of the popup messages
Scaling the wordboxes
Scaling the wordboxes will make them ‘pop’ a bit when the player enters a letter.
We want it to be very quick and snappy.
Our go-to solution is usually to use Animation Curves in Unity. They give you a lot of freedom to iterate and test out different types of animations really quickly. So that’s what we’ll do here.
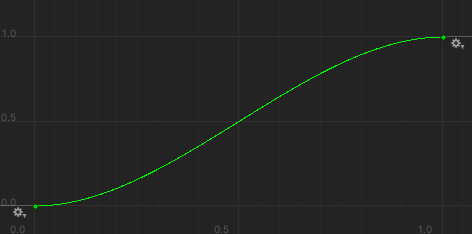
- In GameController.cs, add a public AnimationCurve variable:
We actually like to start it a bit below 0. This gives it a small build up that makes it ‘pop’ better. Here’s how we configure our Curve:
Here’s a picture of the curve we used:
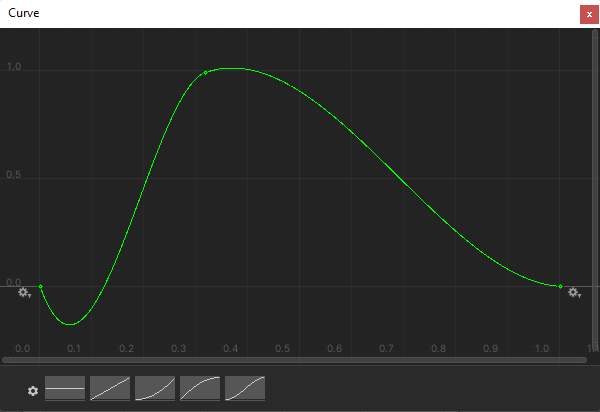
Of course you can create whatever Curve you think looks best. But if you want to use our exact Curve, you can copy this code and paste it on top of the Animation Curve:
Quick test: Let’s press play and see how this looks in Unity.
Here’s a comparison between the version with feedback and without feedback:
Without feedback:
With feedback:
It looks a lot nicer, don’t you think?
Creating the ‘flip’ animation for revealing the character colors
This time, we won’t be using any animation curves. Instead, we’ll do it entirely in code.
Here is how it looks in the original Wordle::
Here’s what we’ll do:
We’ll scale down the word boxes, one by one, to a y-scale of 0. Then change the colors and sprites, and then scale them up again. We’ll do a bit of rewriting of the CheckWord() function to add this new behavior. We’ll make it into a coroutine instead of a regular function and then do this animation for every wordbox.
- In The CheckWord() function top, rewrite it to be an IEnumerator instead.
You’ll now get an error message, saying we don’t return a value. Don’t worry – we’ll fix that.
…to this:
We also need to move the showing of the popup to inside the coroutine. This is because starting a coroutine won’t wait for it to complete, and we don’t want that to happen until after the player has guessed.
Quick test: Now, if you press play in Unity, you should hopefully have something similar to this:
Wiggling the wordboxes when the player enters an invalid word
If a player tries to submit a non-existent word (or one with too few characters), we need more feedback than simply nothing happening.
So we’ll wiggle the wordbox row to show it’s refusing the word the player’s trying to submit.
To do this, we’ll use a similar approach to what we just did. But we’ll do it completely in code.
-
First, we need to add some more variables. At the top part of GameController.cs, we’ll add a list of starting x-positions for the wordboxes and a reference to the grid layout group:
A grid layout group needs a frame before it sets up its children’s positions. But instead of waiting for that, we can force it to update immediately.
Let’s add a function that does that and fetches the starting positions of the wordboxes;
Then in the Start() function, we call this new function:
Now, we need the actual animation.
We’ll use cosine to get a value between -1 and 1. We’ll then multiply this value with a speed and multiply it by a radius to decide how big the wiggle should be. We’ll then lerp this value towards 0 so it’ll stop wiggling when the duration is up.
Add this function to the bottom of GameController.cs:
With this function added, we now just need to call this coroutine when a player enters too few characters, in SubmitWord():
…then in SubmitWord() when the word doesn’t exist in the dictionary:
Now in Unity, we need to set the reference to the Grid Layout group in GameController:
Quick test: Press play and submit a made-up word (or one with too few characters). You should now see the row wiggling in disapproval.
And finally: animating the popup messages
At the moment, the popup messages just appear abruptly out of nowhere. To make it smoother and more pleasing, we’ll scale it up from 0 to 1 with a smoothstep curve. A smoothstep curve is a curve that will start slowly and end slowly:
So we’ll do this curve. But instead of using an animation curve, we’ll code it from scratch.
We can use this function for both popping up and hiding the popup. We just need to send a bool in with the coroutine.
- At the bottom of GameController.cs, add this function:
As you can see, it’s fairly similar to the other coroutines we’ve already done – apart from the smoothstep part.
Quick test: Now let’s go back into Unity and check it out.
Much smoother.
And with that, we’re done.

You now have completed a fully featured polished version of Wordle! If you followed all of the steps correctly, it should play something like this. If you want to download the source files of this particular project, you can find them on our Github page or in the link below.


If you're ready to continue, make sure to check out Part 2 of our guide where we will show you how LootLocker can help make a great game even better using LootLocker's out-of-the-box backend features.
This is all good practice – but you want to be making your own games, right?
We do these guides because it’s always really good practice to understand how other games are made by reverse-engineering and recreating something that already exists.
But what we really want is for you to take what you’ve learned here and use it to bring your own ideas to life.
How LootLocker can help
LootLocker makes it quick and easy to get through the more arduous, boring parts of game development – like leaderboards, player accounts, and friend lists, to name just a few.
We designed every aspect of Lootlocker to save you time. It works straight out of the box, no matter your game’s size, genre, platform, or engine. We’re always here to help and mentor you (if you need it), through our Discord channel. And it’s totally free each month, up until you hit 10,000 monthly active players.
Take a look at the features page of our website to see how LootLocker can help you make your dream game a reality.
Oh, and if you liked this guide, please share it on Twitter or LinkedIn!